Link a Project
Learn how to connect your Webiny CMS project to Webiny Control Panel
Webiny Control Panel (“WCP”) is currently in a private Alpha release. If you wish to join the Alpha testing program, register your interest on our waiting list  .
.
- why you need to link your project with WCP
- steps to link your project with WCP
Prerequisites
For this guide you will need to have:
- A Webiny Control Panel account
- A Webiny CMS instance
Why You Need to Link Your Webiny CMS to WCP?
When you install Webiny CMS, by default, it’s managed as an Open-Source instance. To upgrade your instance to Webiny Business or Enterprise tier you will need to provide a license. The license is created inside Webiny Control Panel (“WCP”). When you create a project in WCP, the project automatically gets a license. You then need to link the WCP project to your Webiny CMS project, which automatically upgrades your Webiny CMS instance to the correct tier. It will also unlock features such as multi-tenancy and access to the additional add-ons. If you make any changes to your WCP project license, they will automatically reflect on your Webiny CMS side for the linked projects.
How to Invite a User to Your WCP Project?
Any developer working on your Webiny CMS project that requires to build and run Webiny CMS inside their personal development environment will need to have a WCP acount and be assigned to your WCP project.
To invite a team member to a WCP project, a user with owner rights has to perform the following actions. Inside the WCP project navigate to the Team Members tab:
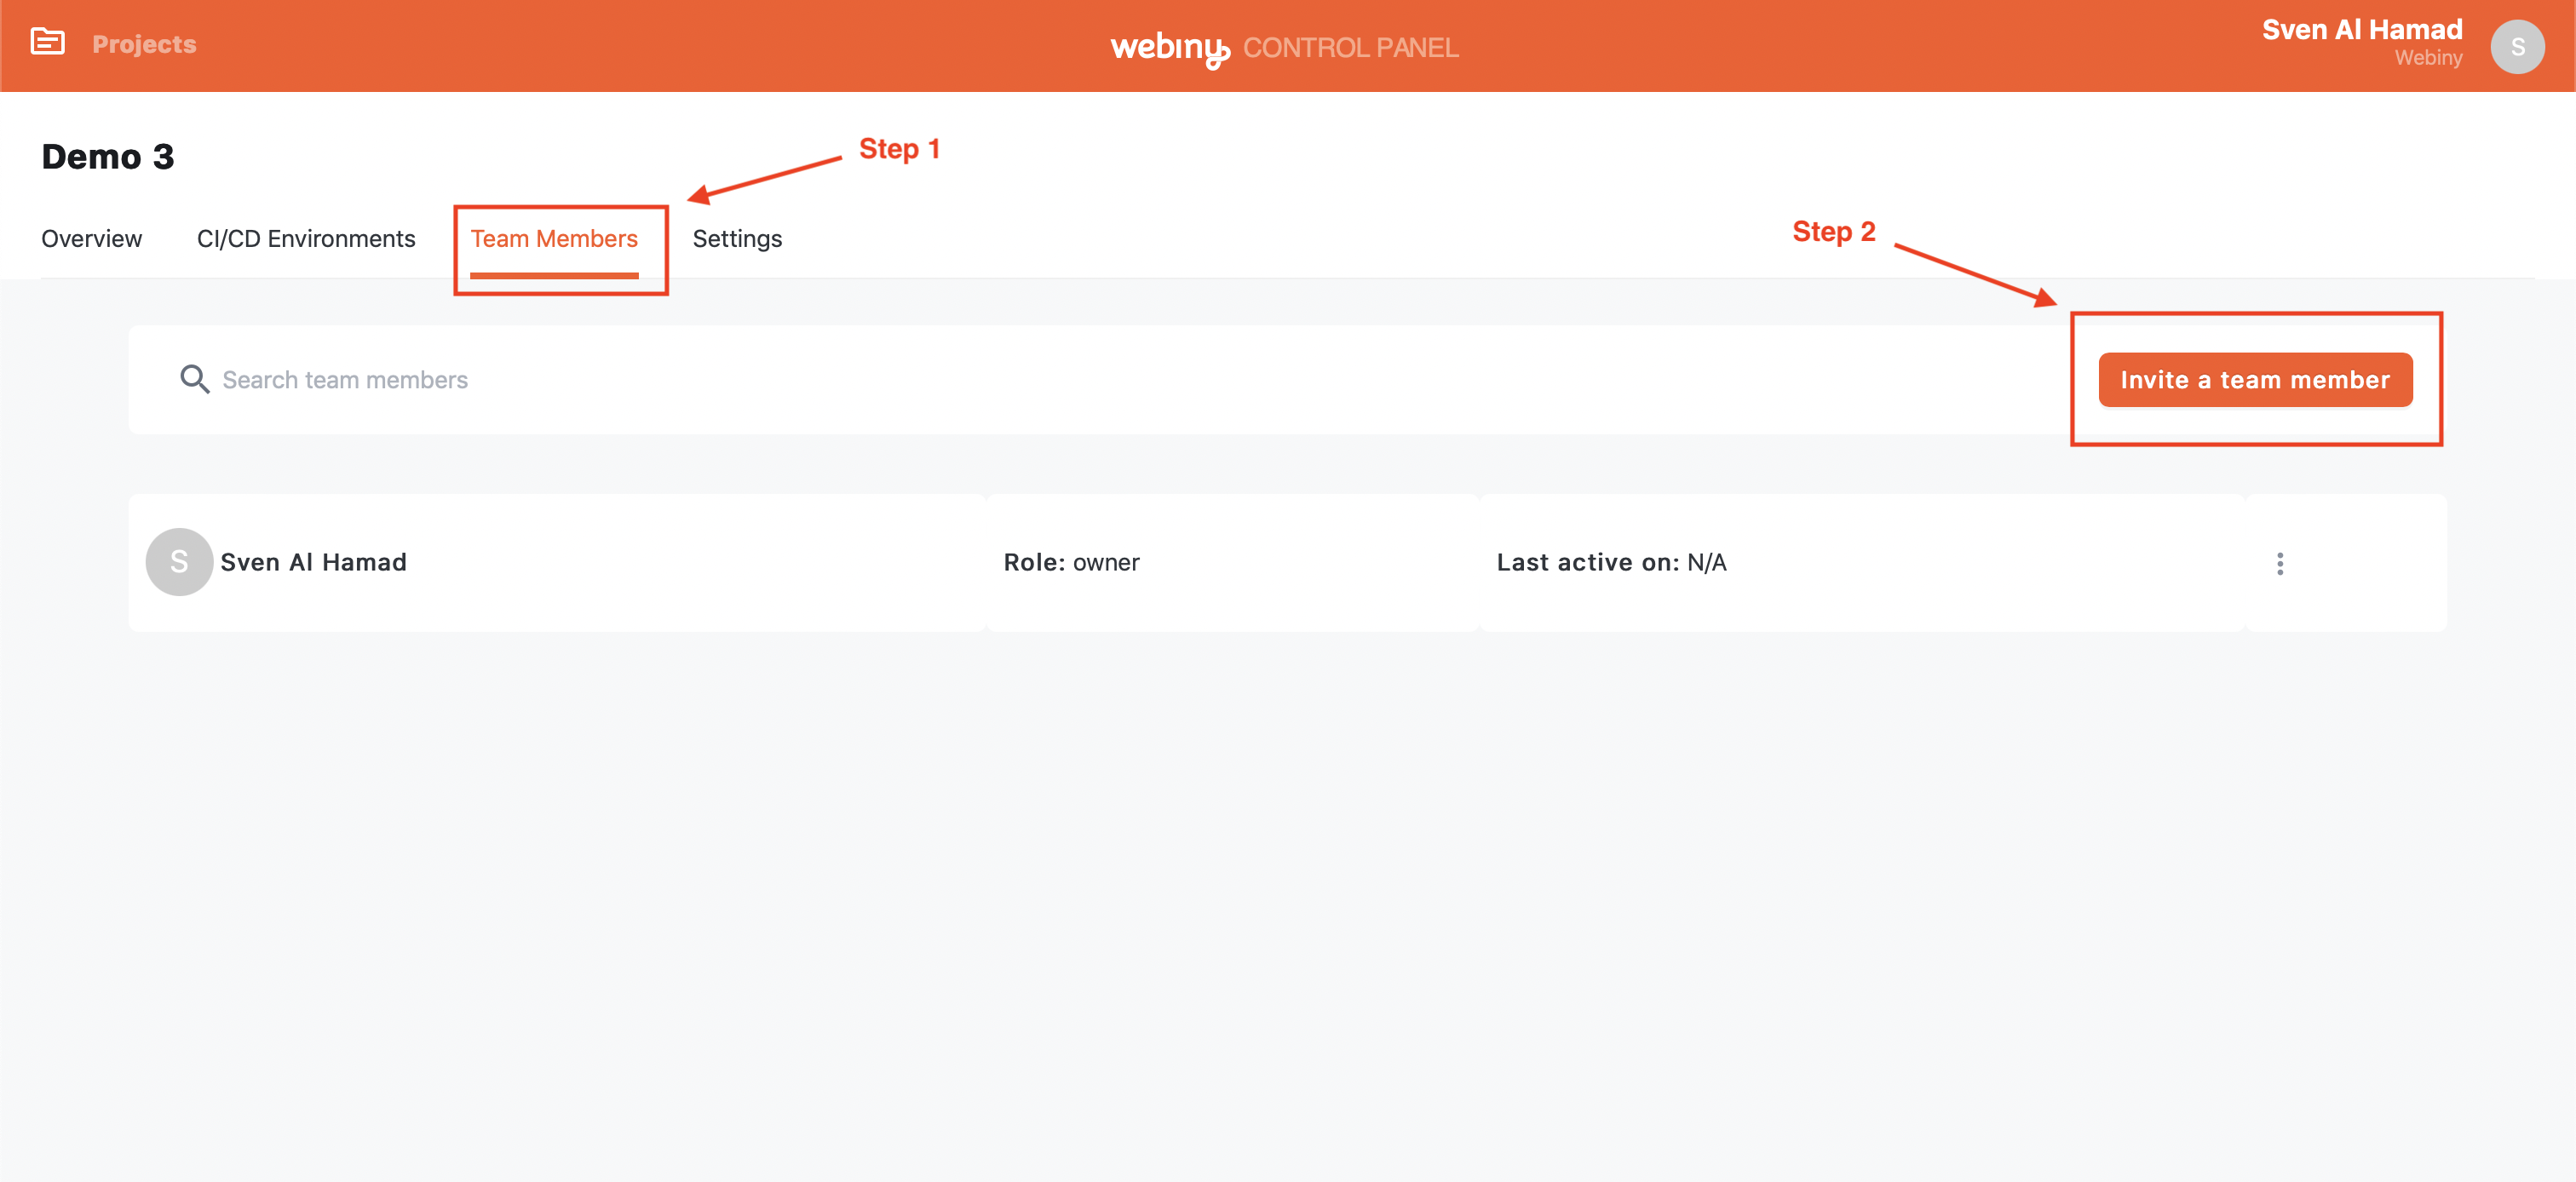 WCP - Invite team member - Step 1
Click the Invite team member button and fill out the form:
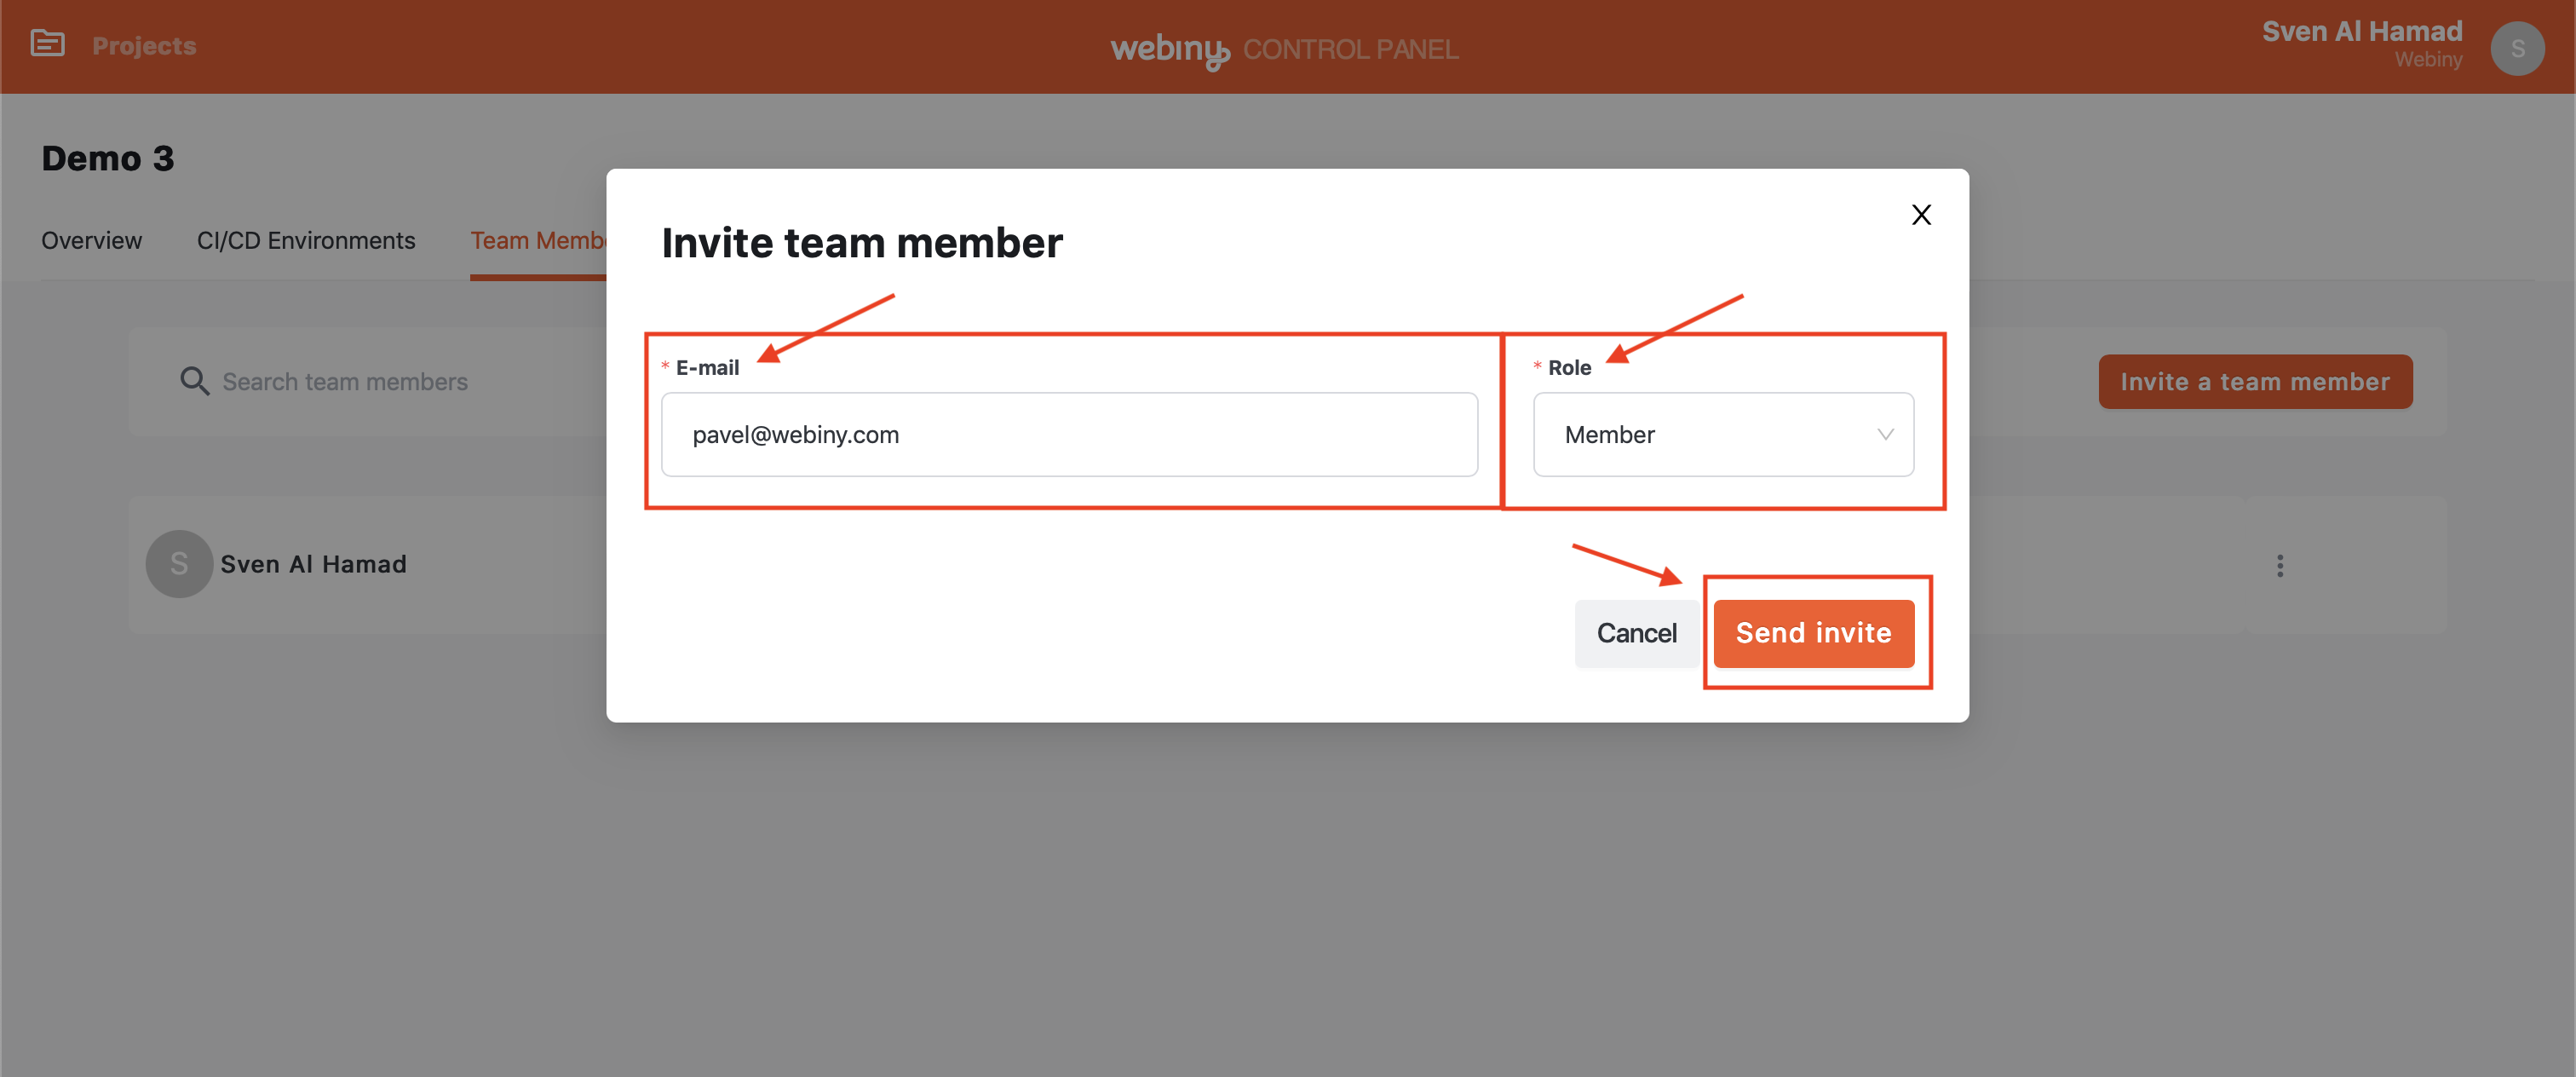 WCP - Invite team member - Step 2
Note: A user with a role of Member can access the project, see the dashboard, and retrieve the license, but they can’t invite other members or change project settings, for that you need to assign the user a role of Owner.
Once the form is submitted, the user will receive an invite. If needed, you can revoke the invite by pressing the Revoke button.
 WCP - Invite team member - Step 3
The invited user now just follows a link in the invite to join your project. If the invited user doesn’t already have a WCP account, they will be asked to create one.
How to Link Your Project
Depending if you’re a developer working on Webiny CMS project and you need to make some code changes and test them within your own personal development environment, or if you’re looking at retrieving a license inside a CI/CD environment, there are different steps you will need to take.
Personal Development Environment
As a user with an access to a WCP project, open your terminal and navigate to your Webiny CMS project folder, inside the Webiny CMS project, run the following command:
yarn webiny loginThis will bring up the WCP login page:
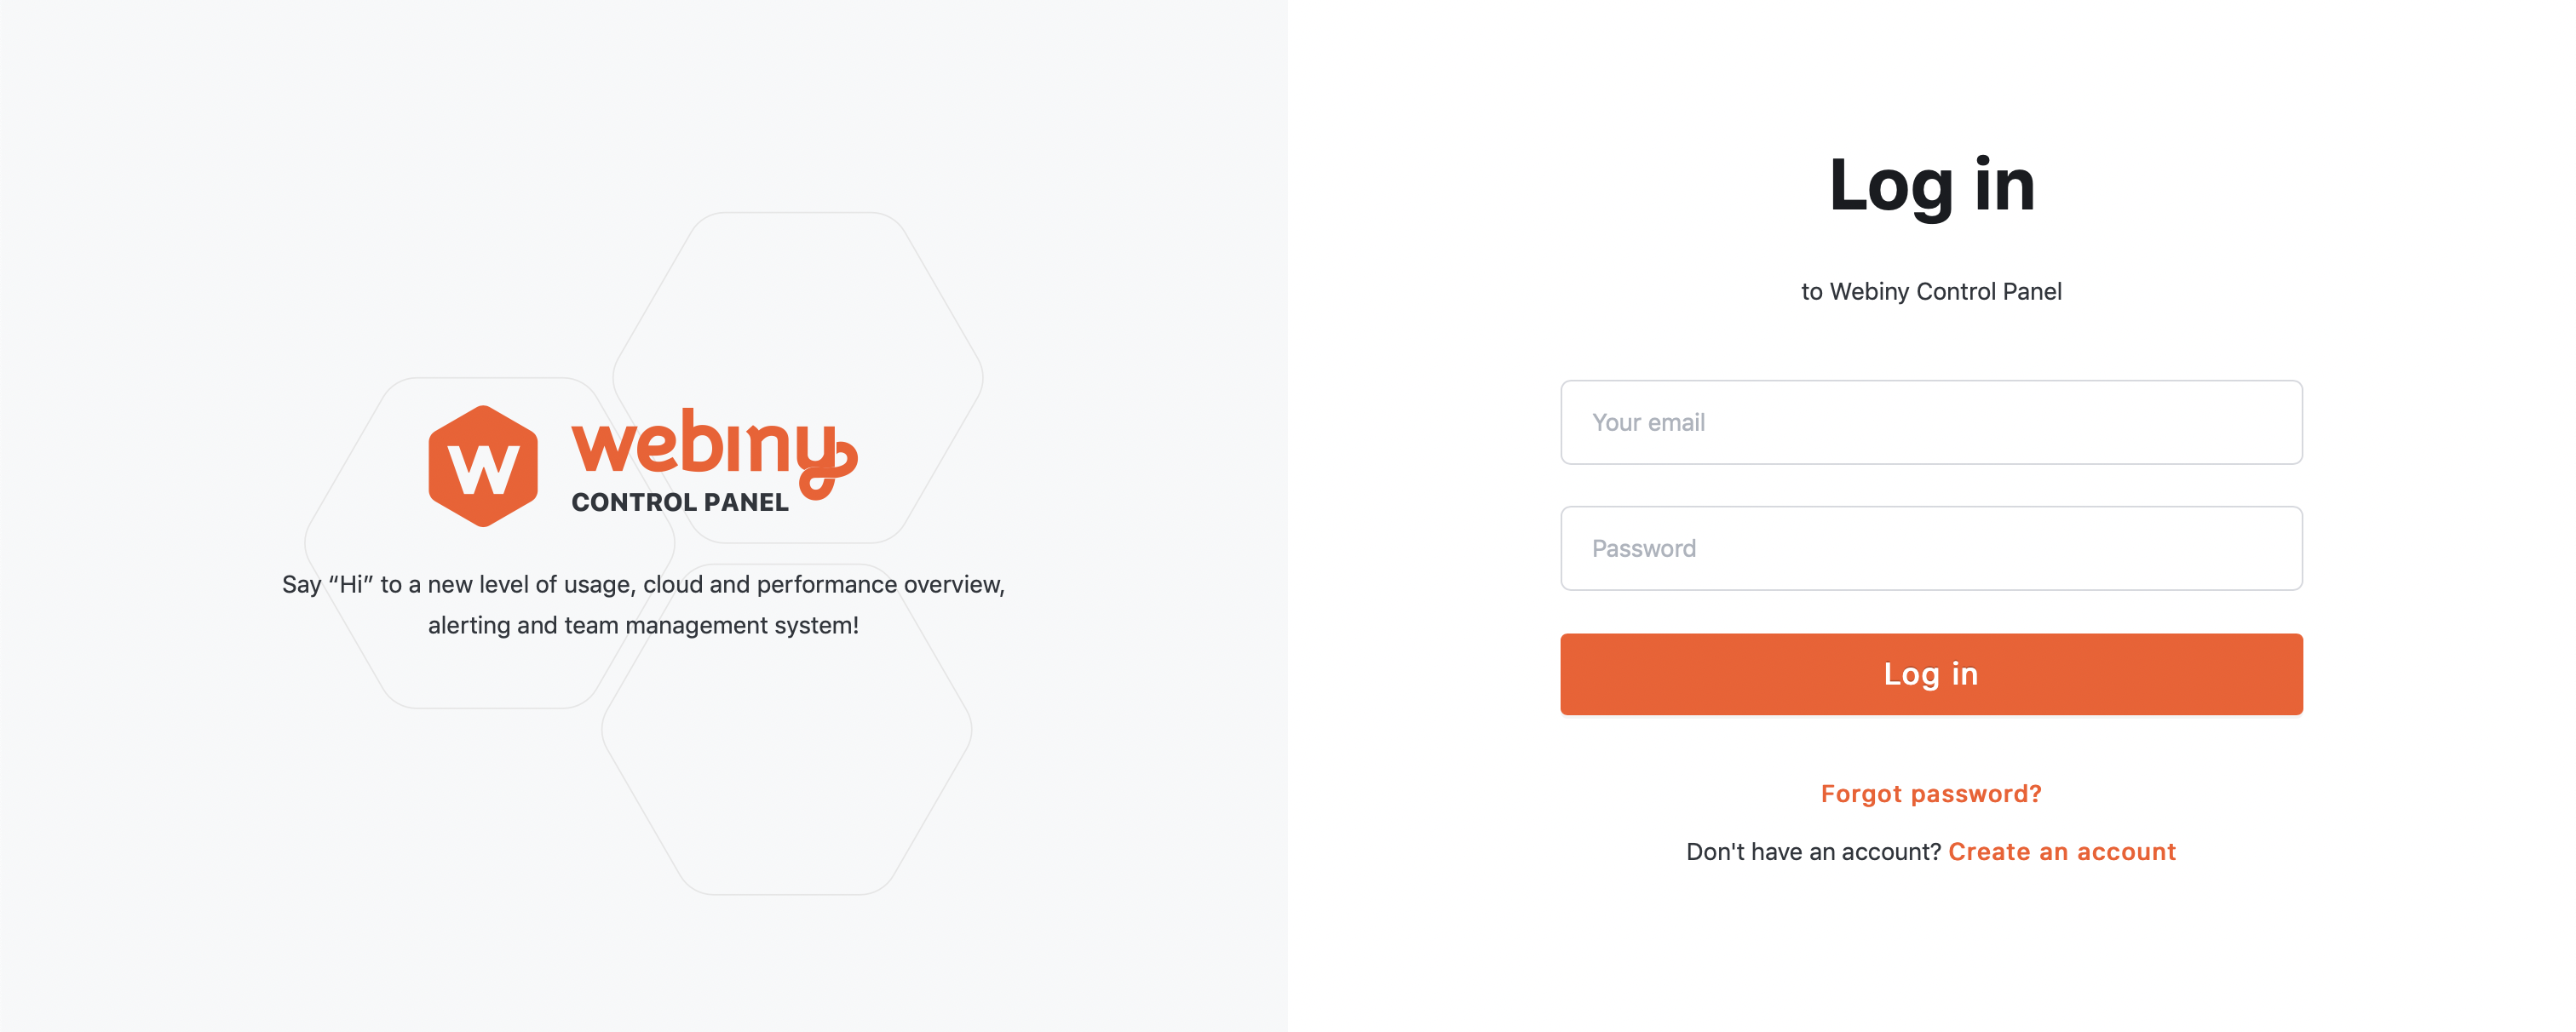 WCP - Link project inside personal development environment - Step 1
Type in your username and password and you should see a success message in your browser:
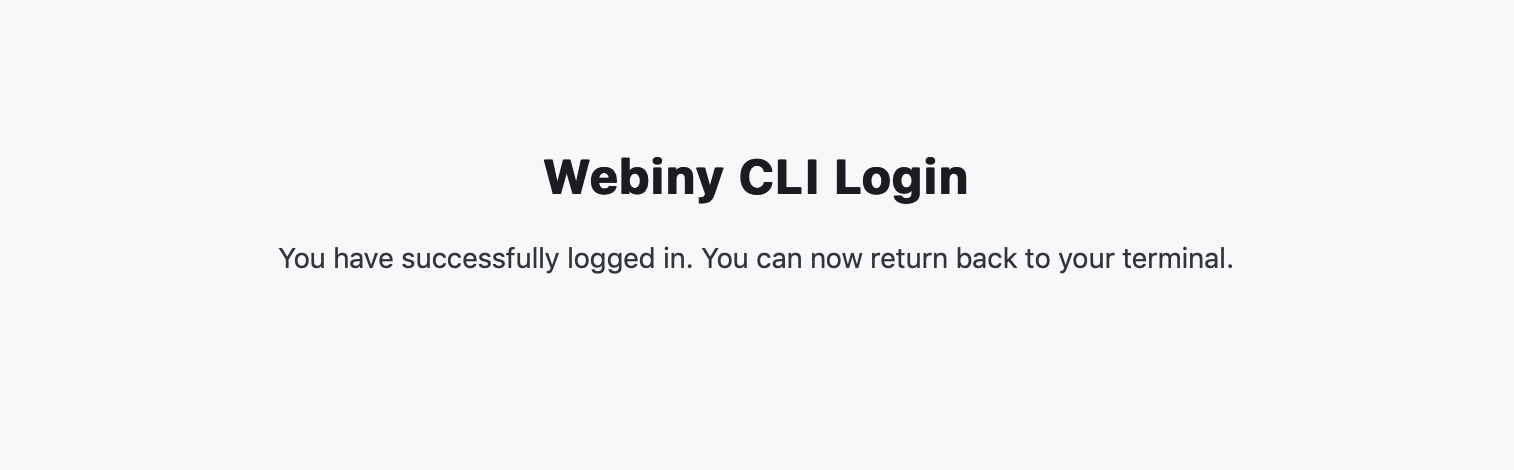 WCP - Link project inside personal development environment - Step 2
You can now return back to your terminal, and you’ll see another success message in there as well:
 WCP - Link project inside personal development environment - Step 3
At this point your Webiny CMS project is linked to WCP, now you just need to link it to a specific WCP Project so the license can be retrieved. To do that, run the following command which will display a list of all the WCP projects you have access to:
yarn webiny project linkAnd all it’s left to do is to select a project from the list. Note: if you have access to only one WCP project, the command will automatically link you to that one.
 WCP - Link project inside personal development environment - Step 4
If the project owner previously linked the project, the id of the project will already be present in the root webiny.project.ts file, meaning other users don’t need to link the project themselves here. Once they’re logged in, they’re good to go.
CI/CD Environment
To link a WCP project inside a CI/CD pipeline you need to use environment variables and a WCP environment Api key.
To retrieve the API key, inside your WCP project navigate to CI/CD Environments tab and press the Copy API key button next to the appropriate environment.
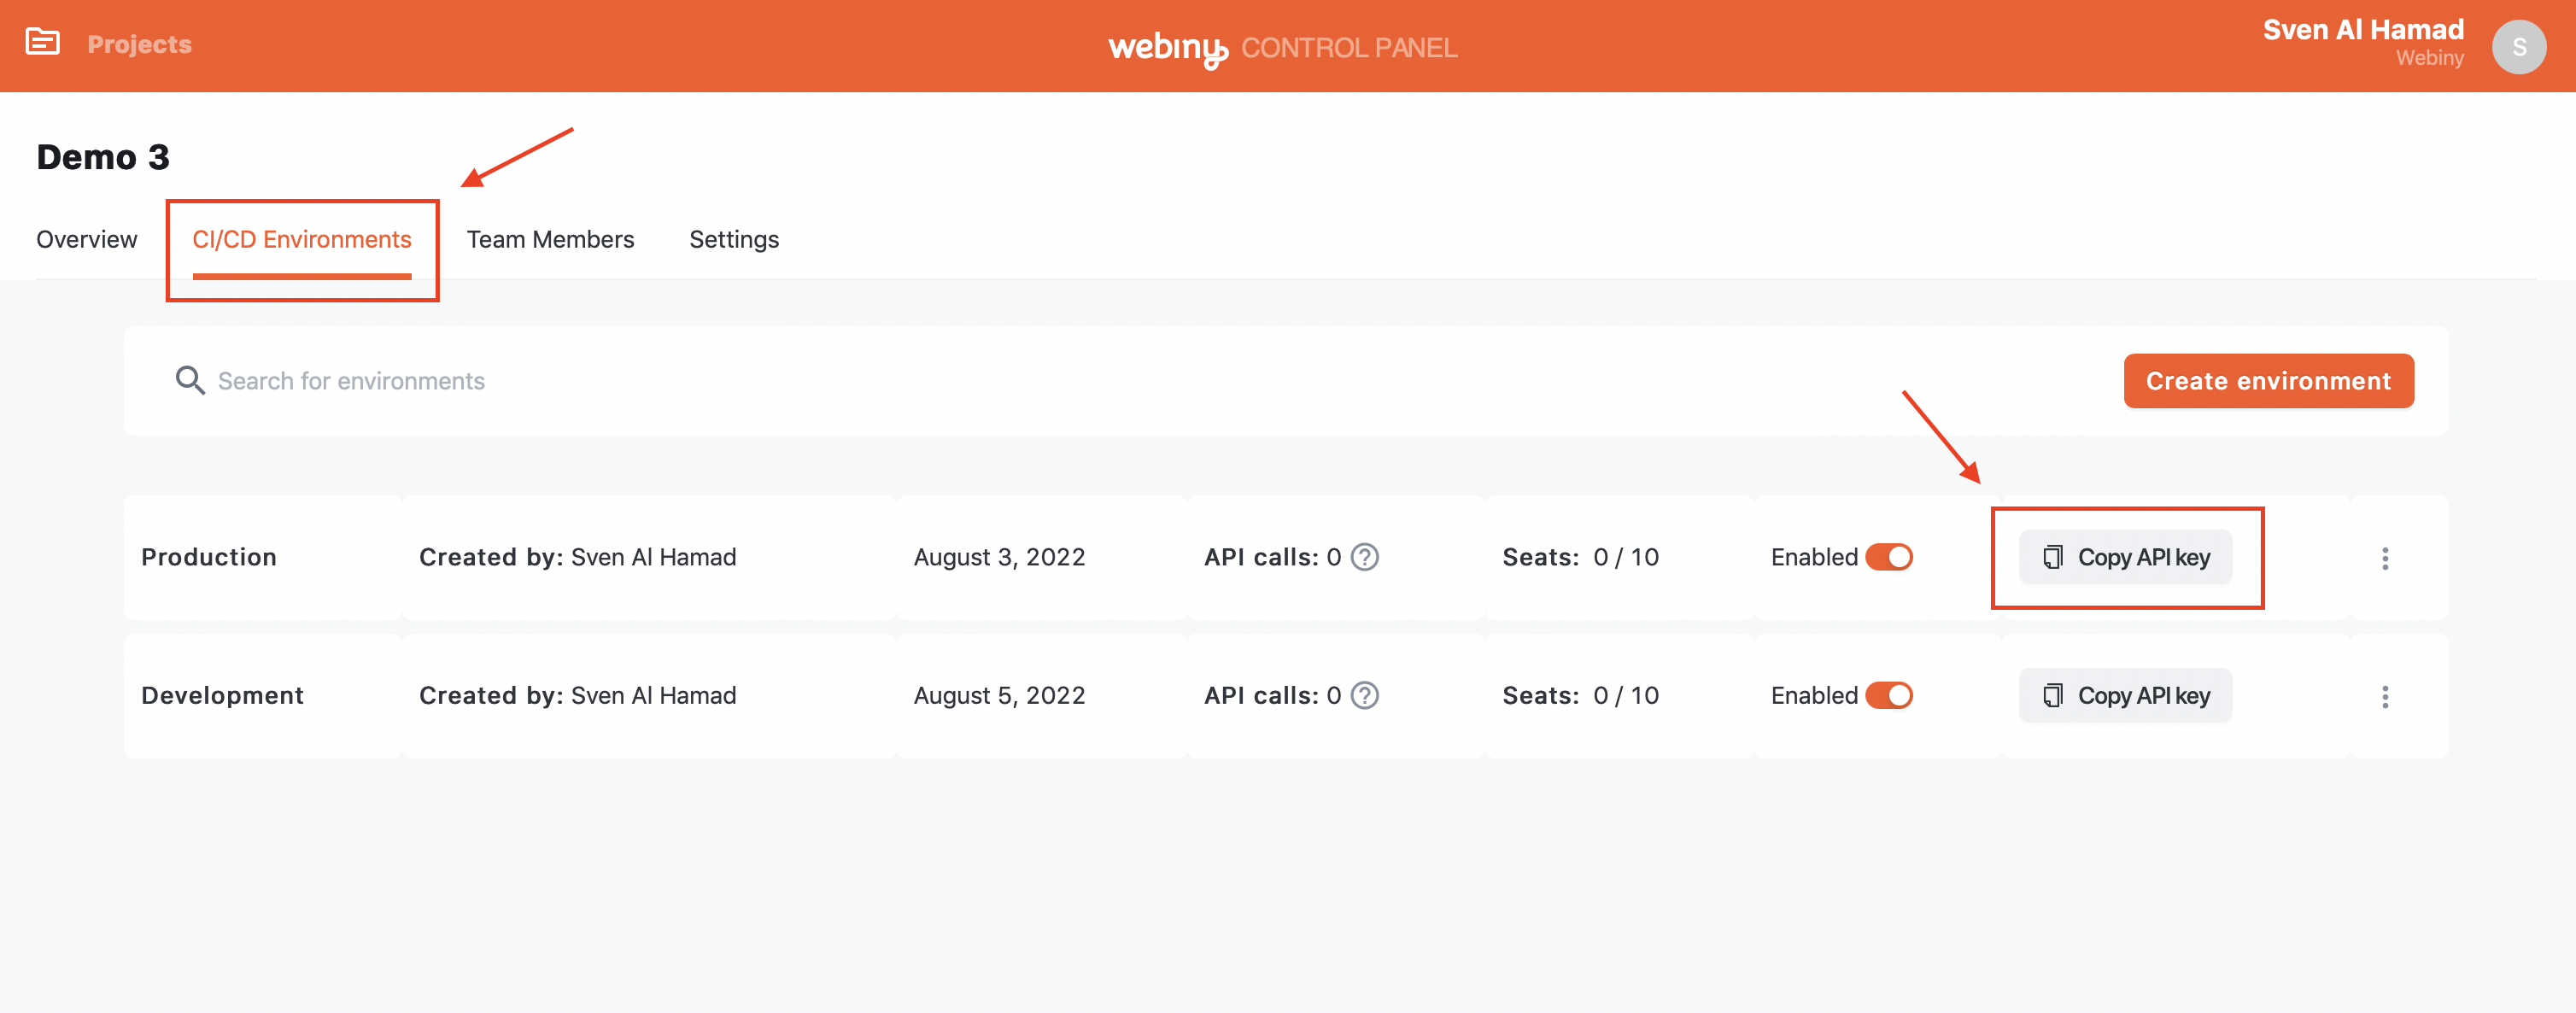 WCP - Link project inside a CI/CD environment - Step 1
Once you have your API key, you need to define a environment variable called WCP_PROJECT_ENVIRONMENT_API_KEY inside your CI/CD environment:
WCP_PROJECT_ENVIRONMENT_API_KEY = 732e4630-af5d-sample-key-22fc89e2dca9With this the project inside your CI/CD pipeline will automatically retrieve the correct license when the project gets deployed.
API key. Sharing keys between environments will cause WCP to record your monitoring data incorrectly and certain environments might run into API call limits where they shouldn’t. Read more about the limits here.